
Bronzer vs Contour: A Make-Up Artist's Guide to a Sculpted, Glam Finish
If there's one question I'm asked more than almost any other, it's this: "What's the difference between bronzer and contour, and do I actually need both?"
It's one of the most common points of confusion I come across, and honestly, it makes complete sense. The two are often spoken about in the same breath, sold side by side, and used together, so the lines can feel blurry. But once you understand what each one is actually doing to your face, everything clicks into place.
Whether you're a bride wanting a sculpted, glam finish for your wedding day, someone building their everyday make-up skills, or simply curious about which products are worth investing in, this guide is for you. I've pulled together the products I reach for again and again, and I'll walk you through exactly how to use them.
First things first: what's the actual difference?
Here's the simplest way I explain it to clients:
Bronzer adds warmth.
Think of where the sun naturally kisses your face… your forehead, the bridge of your nose, your cheeks, your chin. Bronzers are typically warm, golden or peachy-brown in tone, and their job is to make you look sun-kissed and radiant.
Contour creates shadow.
It uses cooler, taupe or grey-brown tones to mimic the natural shadows of the face: the hollows beneath your cheekbones, the jawline, and the sides of the nose. Where bronzer adds warmth and light, contour adds definition and structure.
They do completely different jobs. But, and this is the part I love, they sit on the same spectrum. Understanding that spectrum is what takes a make-up look from flat to truly finished.
Think of it as a sliding scale
At one end: a soft, all-over warmth, a barely-there bronzed glow that makes you look like you've just come back from somewhere sunny.
At the other: a sharp, defined sculpt, cheekbones you could cut glass with, a jaw that looks chiselled, the kind of finish that photographs beautifully under bright lights.
Most of us live somewhere in the middle, and the products and techniques you reach for will depend entirely on where you want to land on any given day. Let me walk you through what I use and when.
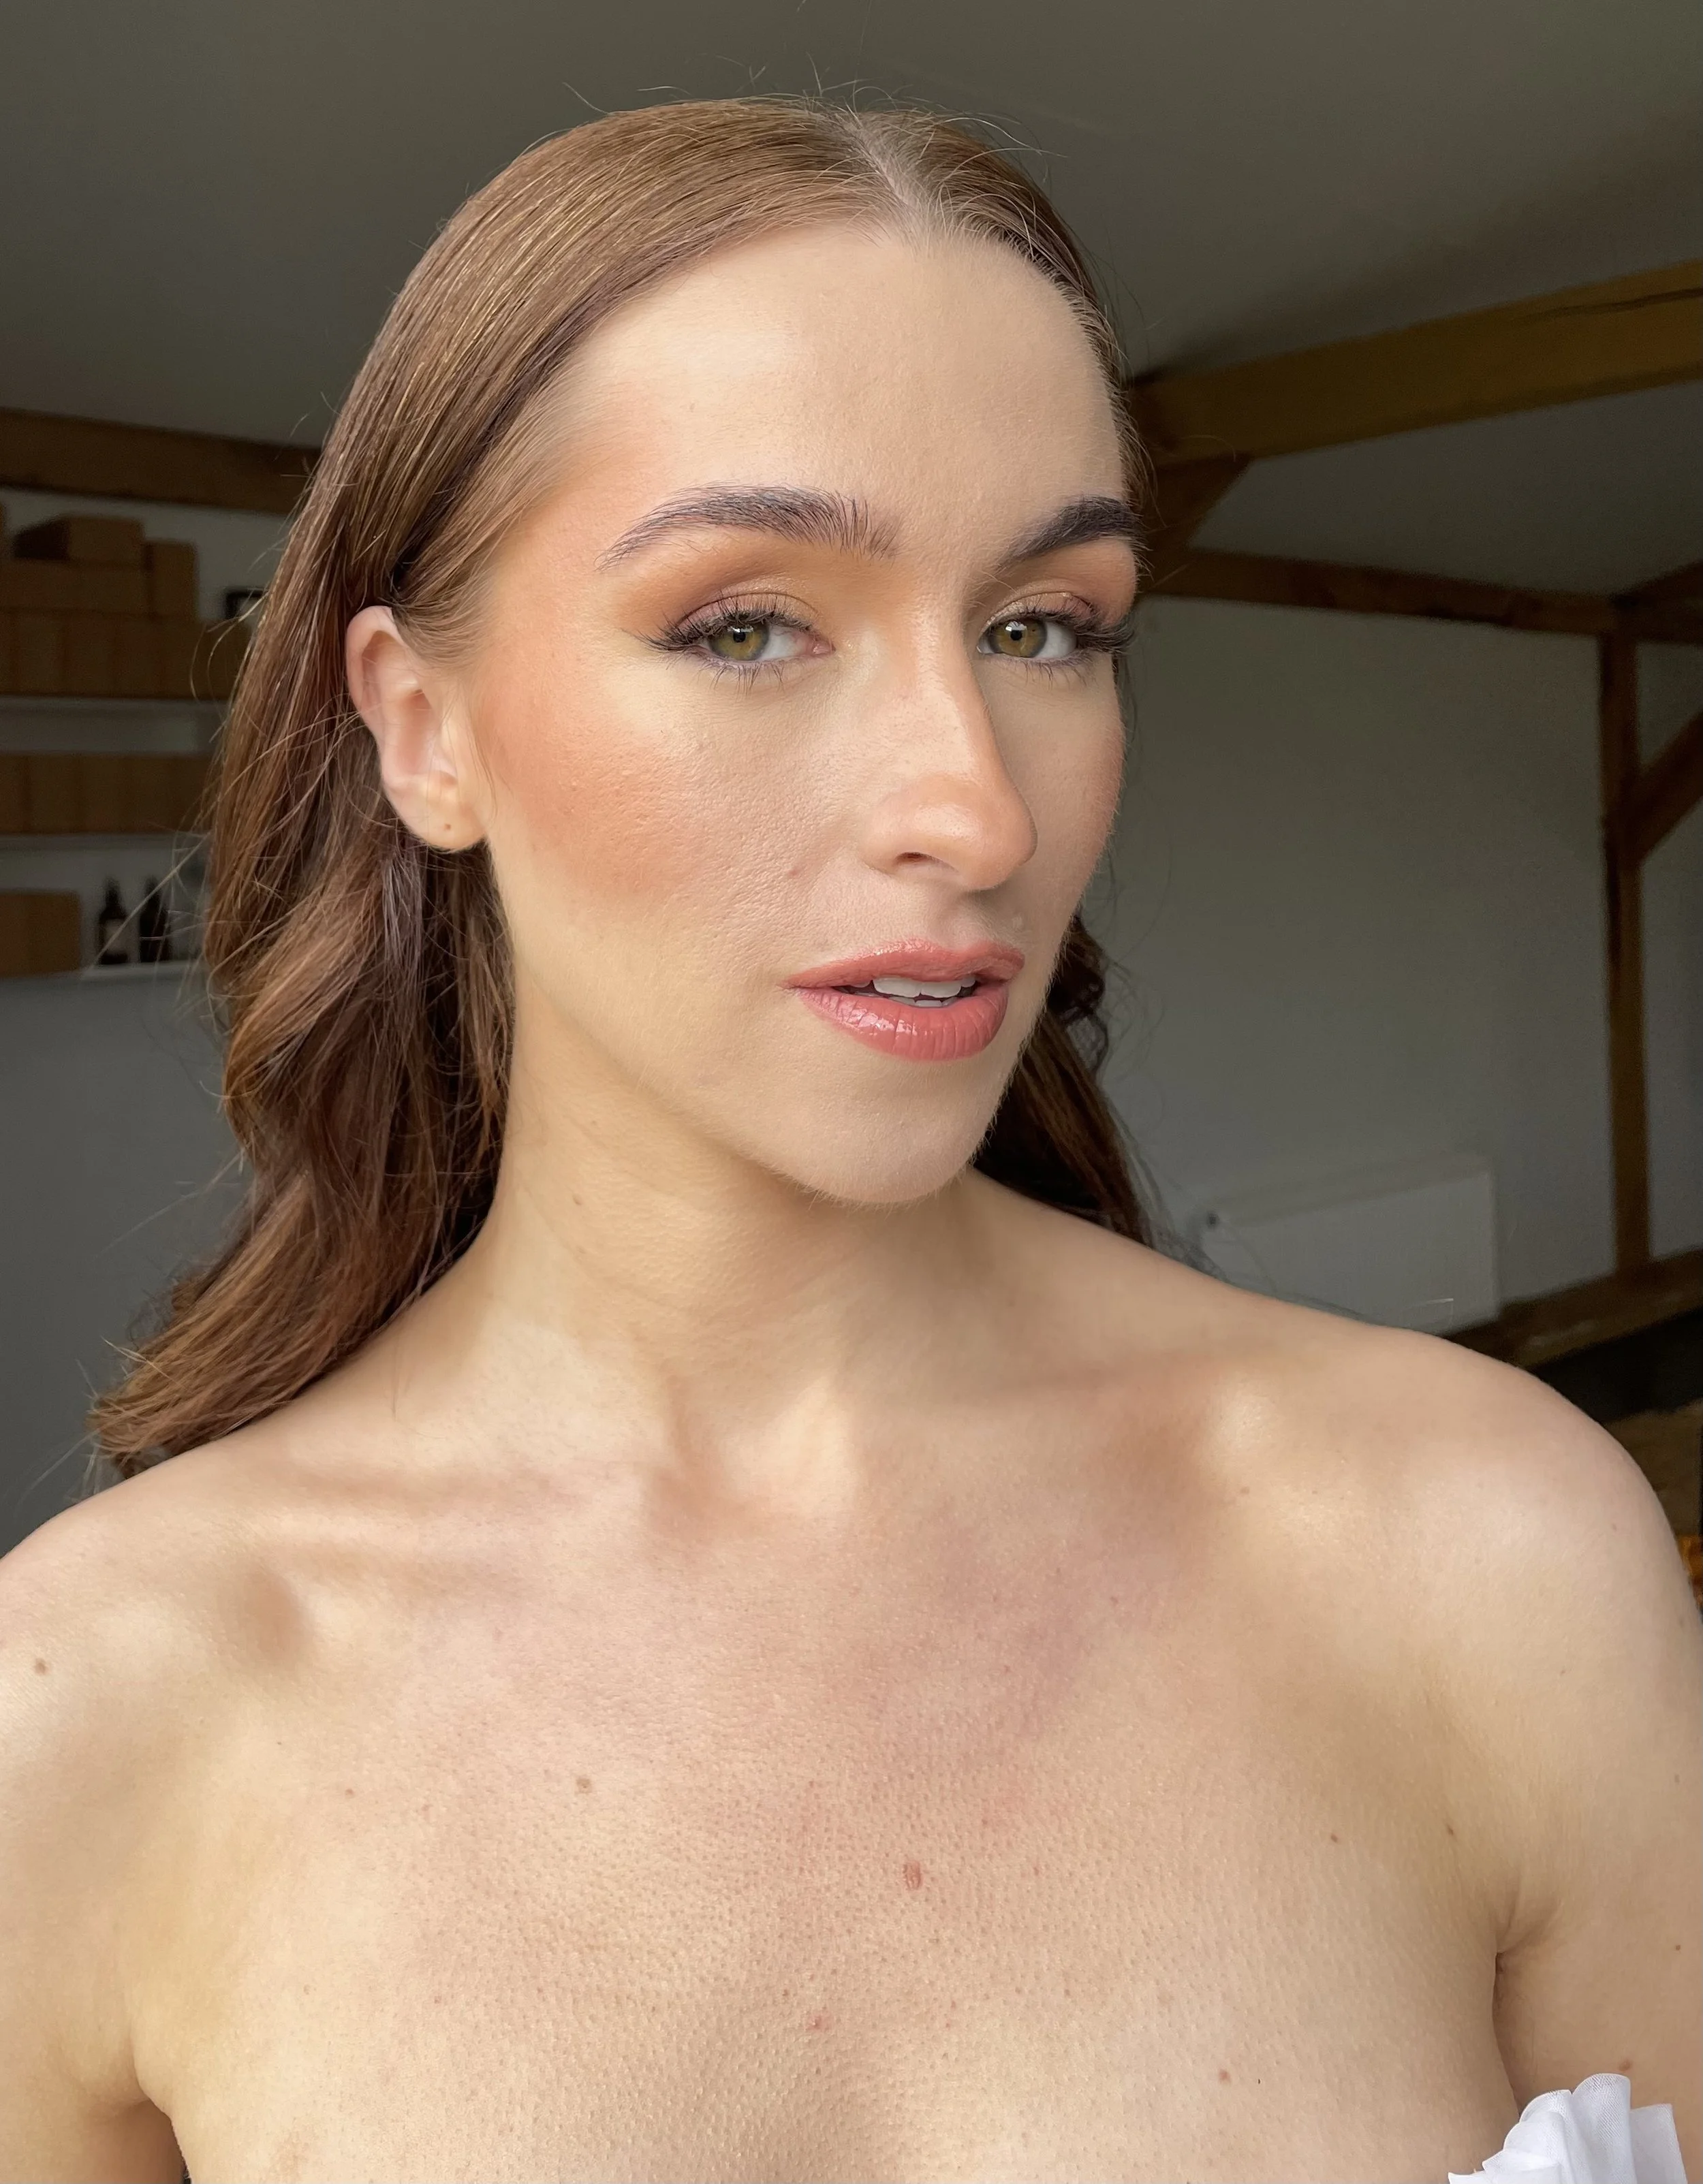
For a sun-kissed wash of warmth
If you want to add radiance and life to your complexion without anything too structured, this is your starting point.
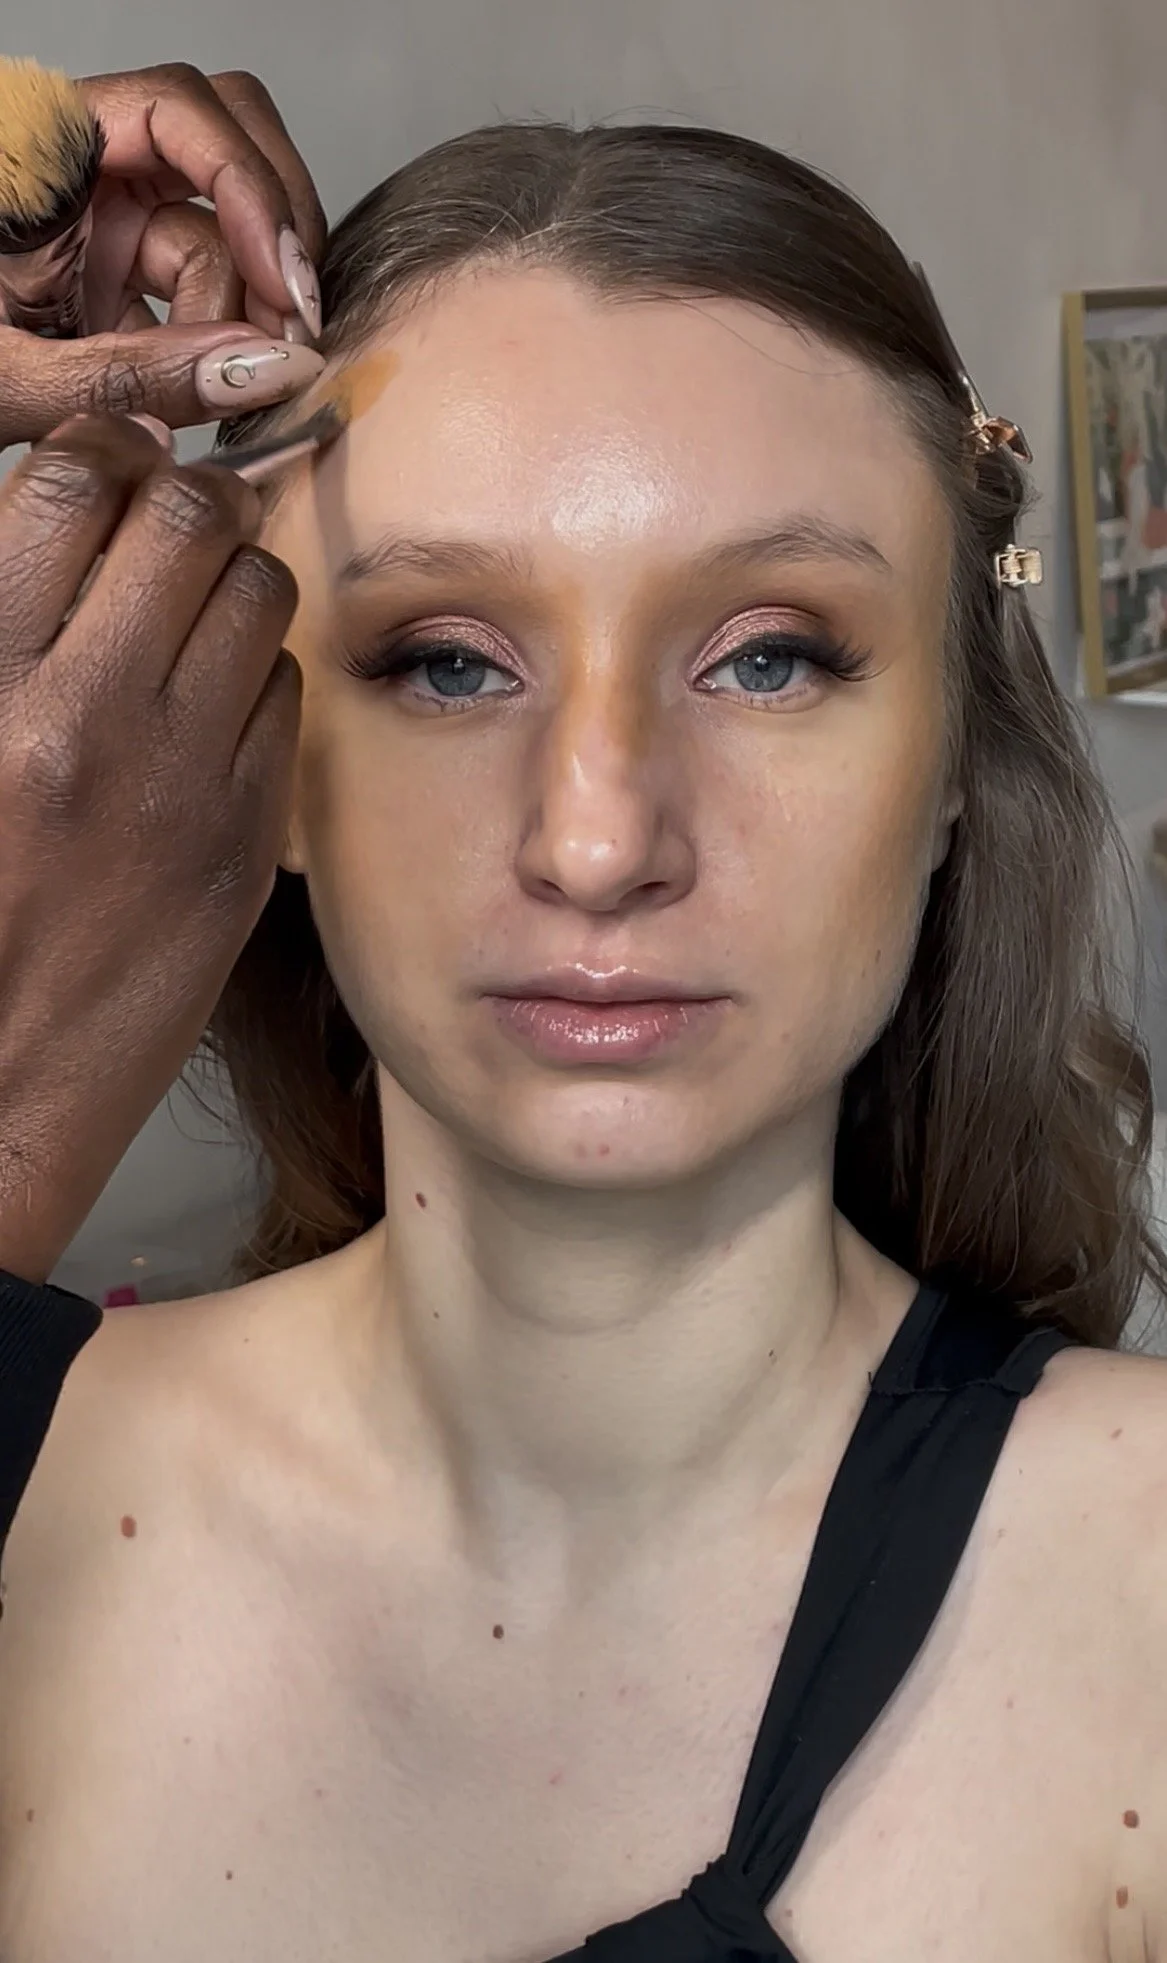
My go-to here is the Chanel Les Beiges Cream Bronzer. During my time working on the Chanel counter, this was the product clients asked about more than almost anything else, and it genuinely isn't hard to see why. Sweep a kabuki brush across the pan, swirl it across the complexion, and it instantly delivers the most beautiful, natural-looking glow. It's warm without being orange, buildable without ever tipping into too much, and it leaves the skin looking luminous rather than made-up. It can also be swept across the cheekbones for a subtle, warming lift. Foolproof, and genuinely one of the loveliest bronzers I've ever worked with.
For my brides, I reach for the Too Faced Bronzing Stick again and again. In a sleek stick formula, it’s incredibly easy to use on a wedding morning. Swipe it directly onto the skin, then blend with a fluffy kabuki brush for a diffused, soft-focus finish, or press it in with your fingertips to melt it seamlessly into the skin. It's beautifully sheer, naturally buildable, photographs like a dream, and, I can't not mention this, it smells like chocolate. A small but genuinely lovely touch.
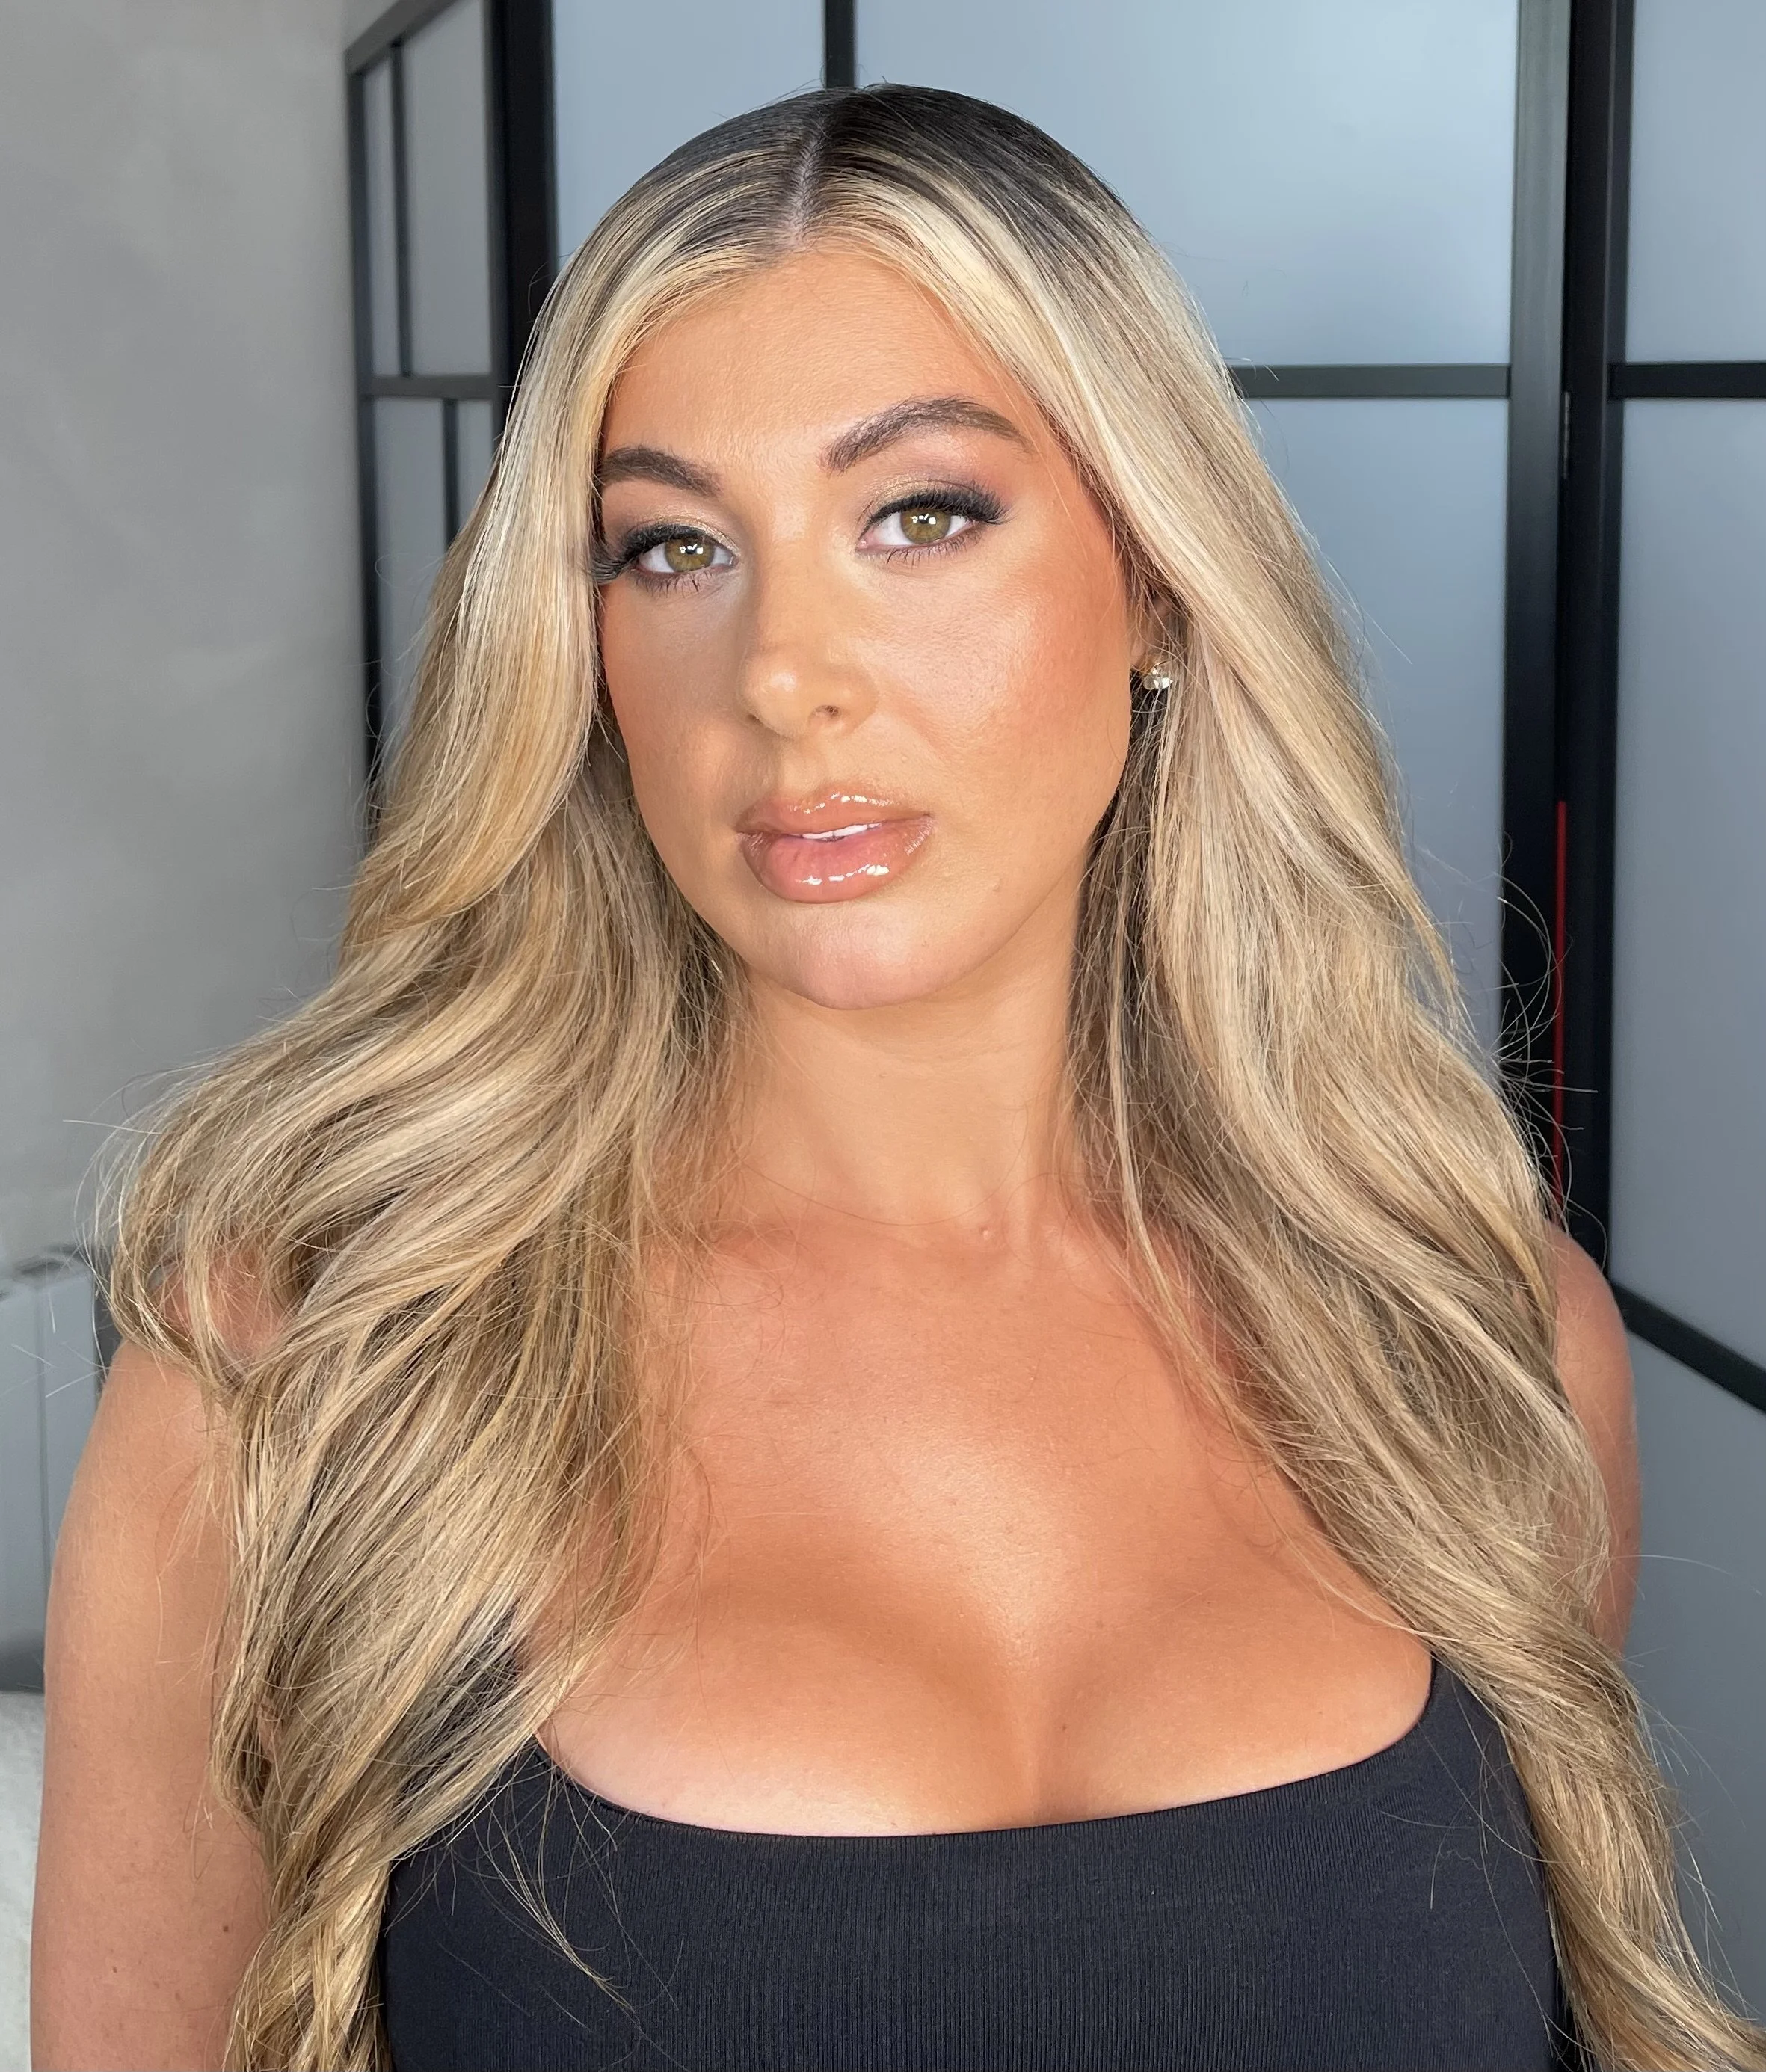
For a soft, natural-looking contour
This is the middle ground: a little more structure than pure bronzing, but nothing dramatic or heavy. Cheekbones that look naturally lifted, a jaw that appears more defined, without it being obvious that you've done anything at all.
This is where technique starts to matter as much as product. Rather than sweeping colour all over, you're placing it more deliberately… underneath the cheekbone, along the jawline, lightly at the temples. A dense, angled brush is your best tool here, giving you the precision to build product exactly where you want it. Then blend the edges softly so there are no harsh lines.
For the most natural-looking shadow effect at this stage, reach for a cool-toned, matte product, something closer in tone to your skin's own natural shadow rather than a warm bronze. This is the key distinction that separates a real contour from a bronzed finish, and it's the detail that makes the difference between a look that reads as make-up and one that just reads as great bone structure.
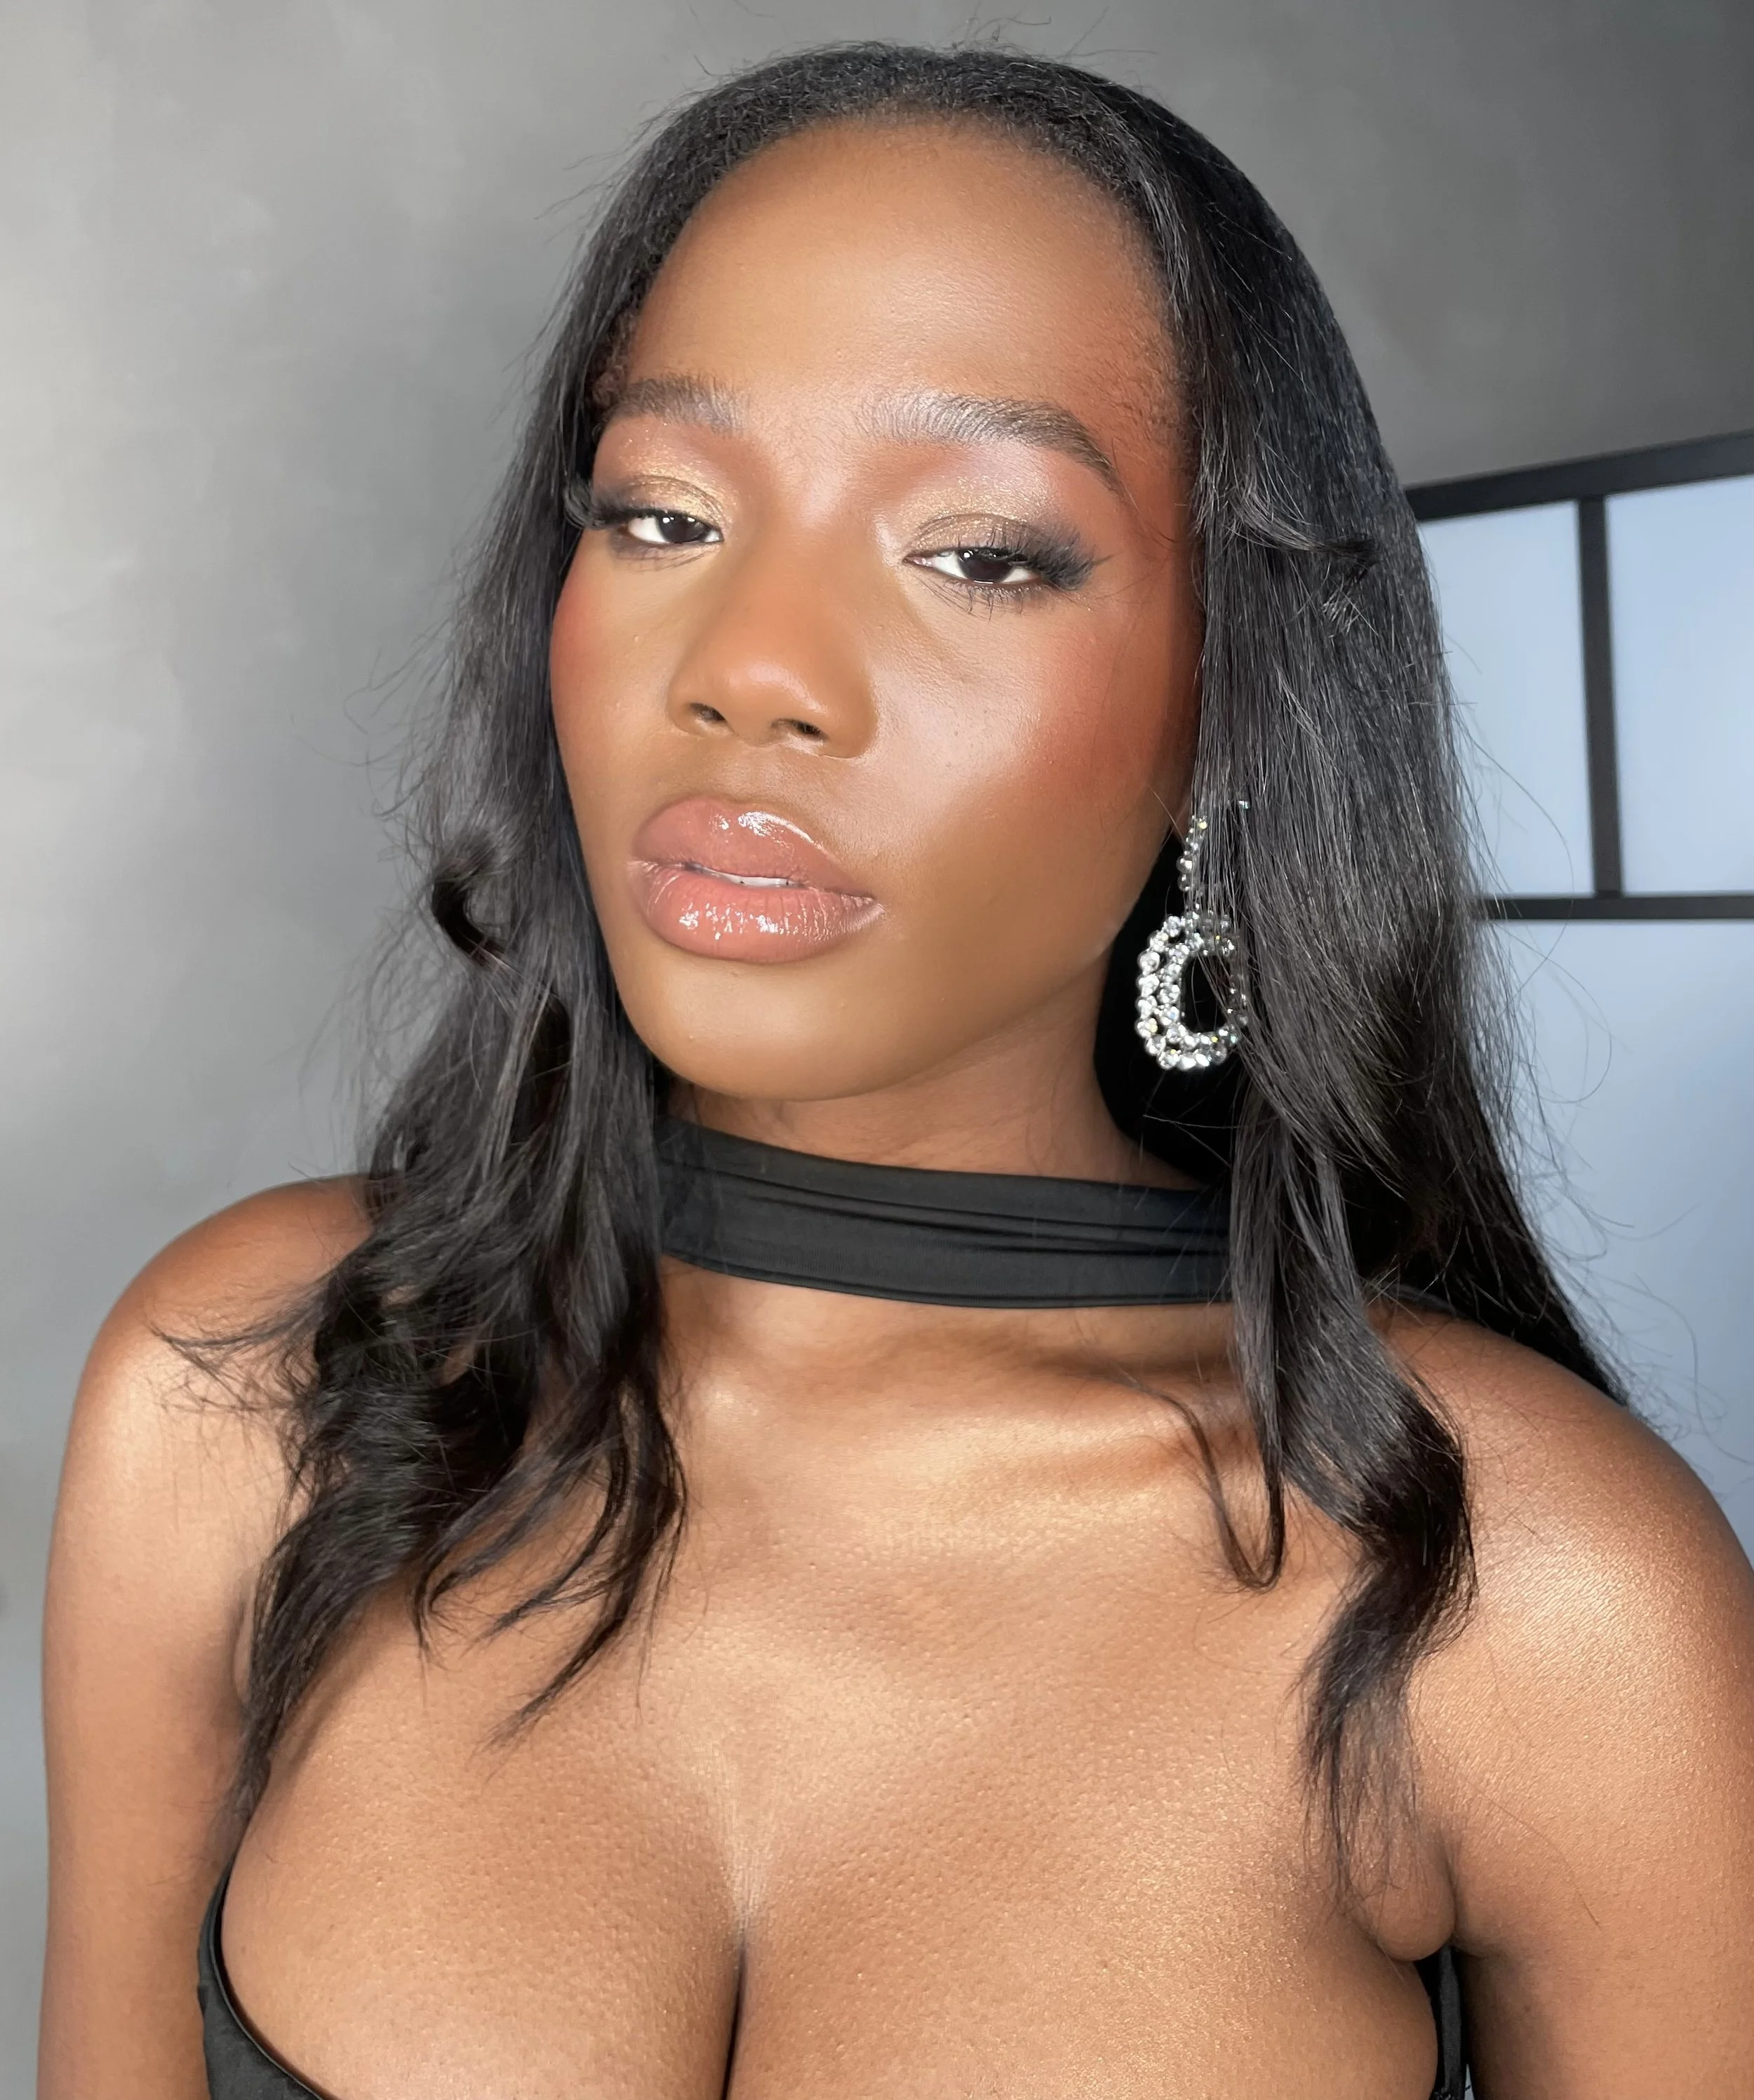
For a full glam sculpt
When a client wants serious definition like a glam wedding look, an editorial finish or a big event, this is when I bring in the Cronzer.
It melts into the skin with a buttery, seamless finish and is highly buildable, meaning you can take it from a soft everyday contour all the way up to something sharp and fully defined. It gives you the precision and payoff that powder alone often can't deliver, and it's the product I trust when the occasion calls for something polished and intentional.
At this end of the spectrum, your tools really matter. A dense, angled brush brush will help you place product with intention, while a clean blending brush afterwards softens everything so the finish looks sculpted rather than painted on.
Your quick-reference brush guide
Since I've mentioned brushes throughout, here's a simple rule of thumb to keep in mind:
A fluffy kabuki brush is best for all-over bronzing and a diffused, natural finish. A dense, angled brush gives you control for building definition into the cheekbones and jaw. A blending brush is essential for softening edges and keeping everything seamless, especially at the full glam end of the spectrum.
The right brush genuinely makes as much difference as the product itself, and it's one of the most underrated investments you can make in your kit.
The short version
You don't have to choose between bronzer and contour, and you don't need to use both every single day. What you need is to understand what each one is doing, so you can reach for the right product depending on the finish you're after.
Start with warmth. Add structure where you want it. Build from there, and enjoy the process.
Want to learn how to apply these techniques on yourself? I offer private make-up lessons in London and Kent, tailored entirely to you and your skin. Get in touch to find out more.